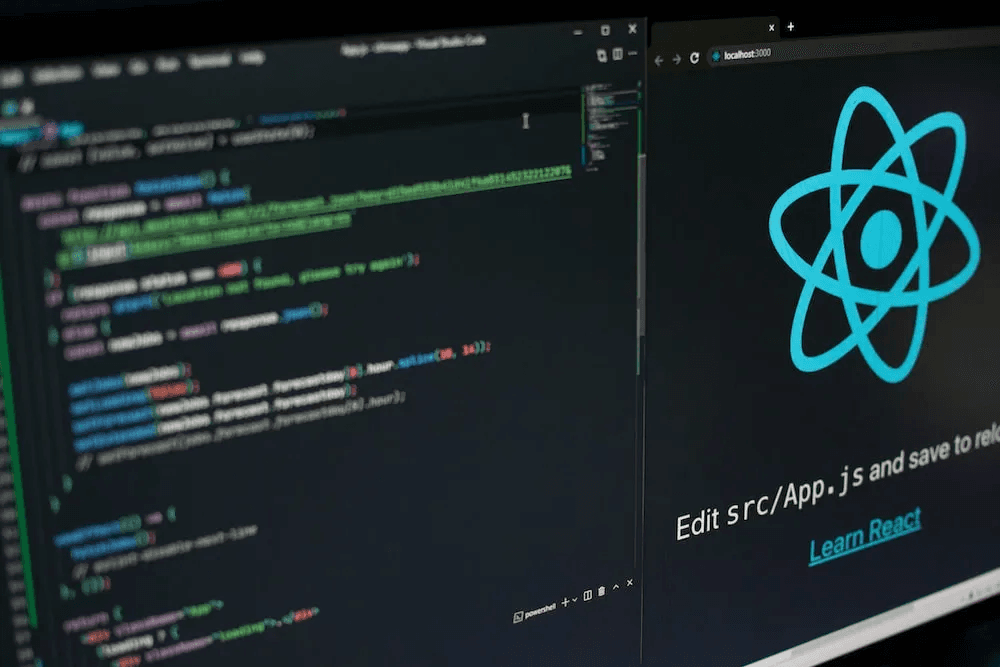
React is a popular JavaScript library for building interactive user interfaces (UI). If you are a beginner looking to get started with React, this article will provide a step-by-step guide on how to set up React in your development environment.
Step 1: Install Node.js and npm
The first step is to ensure that you have Node.js and npm (Node Package Manager) installed on your computer. Node.js provides a runtime environment for running JavaScript applications on the server-side or client-side. npm is the default package manager for Node.js used to install modules and dependencies.
You can download Node.js from their official website at https://nodejs.org. Follow the installation instructions provided on the website.
Once the installation is complete, you can verify if Node.js and npm are installed by running the following command in the terminal or command prompt:
node -v
npm -v
Jika versi Node.js dan npm ditampilkan, berarti instalasi berhasil.
Step 2: Create a React Project
Once you have Node.js and npm installed, the next step is to create a new React project. React provides a command-line tool called create-react-app that helps you create a new React project quickly and easily.
Open the terminal or command prompt and run the following command to install create-react-app globally:
npm install -g create-react-app
After it’s done, you can create a new React project by running the following command:
create-react-app project-name
Please replace “project-name” with the desired name for your project. The command above will create a new directory with the specified project name. Next, navigate to the project directory by running the command:
cd project-name
Step 3: Running the React Project
After being inside the project directory, you can run the React project by executing the following command:
npm start
The above command will compile and run the React project on your local development server. You will see a local URL that you can open in your browser to view your React application.
Once the project is running, you can make changes to the files in the src directory to see the changes reflected immediately in your browser. Every time you save changes to a file, the development server will automatically refresh the page so you can see the updates.
Step 4: Start Developing Your React Application
Now, your React project is ready to be used. You can start developing your React application by editing files in the src directory.
The src/App.js file is the main file that contains the main component of your application. You can modify this component or create new components to start building your application.
You can also install and use third-party libraries or modules using npm. For example, if you want to use Bootstrap in your project, you can install it by running the following command:
npm install react-bootstrap
After the installation is complete, you can import and use Bootstrap components in your application.
Conclusion
That concludes the complete guide on how to set up React for beginners. By following the steps above, you will be able to create a React project and start developing interactive web applications. Happy coding!
Note: This article assumes you have a basic understanding of JavaScript and web development. If you are still a beginner in this regard, it is recommended to learn the basics of JavaScript and HTML/CSS before getting started with React.